Master Bathroom Remodel Process
1. Planning & Budgeting
- Define goals: Plan your Master Bathroom Remodel by deciding to upgrade aesthetics, improve layout, add features (like a freestanding tub, double vanity, walk-in shower).
- Set a budget: Include a buffer (~10-20%) for unexpected costs.
- Inspiration: Gather ideas from Pinterest, Houzz, magazines, or showrooms.
- Hire professionals: Consider a designer, contractor, and plumber/electrician all in one VL TILE INC
2. Design & Material Selection
- Layout: Optimize space (storage, lighting, traffic flow) is vital when planning the remodel of a master bathroom.
- Style: Choose a cohesive theme (e.g., modern spa, classic luxury).
- Materials:
- Flooring: White marble tile (e.g., Carrara, Calacatta)
- Shower walls: Large-format marble slabs or tiles
- Vanity top: Marble countertop (sealed for protection)
- Fixtures: Brushed nickel, matte black, or brass for contrast
- Lighting: Layered lighting—ambient, task, accent
- Ventilation: Ensure proper airflow to protect marble from moisture
3. Demolition
- Turn off water/electricity when starting the master bathroom remodel.
- Remove existing fixtures, flooring, walls (if needed).
- Prepare space for new layout (may involve framing changes).
4. Plumbing & Electrical Work
- Reroute pipes or wiring as needed for new vanities, lighting, or showers.
- Install new rough-ins for outlets, switches, and plumbing fixtures. This step is crucial for the success of the master bathroom remodel.
5. Structural & Surface Preparation
- Ensure floor and walls are level and strong enough for tile, especially important in a master bathroom remodel.
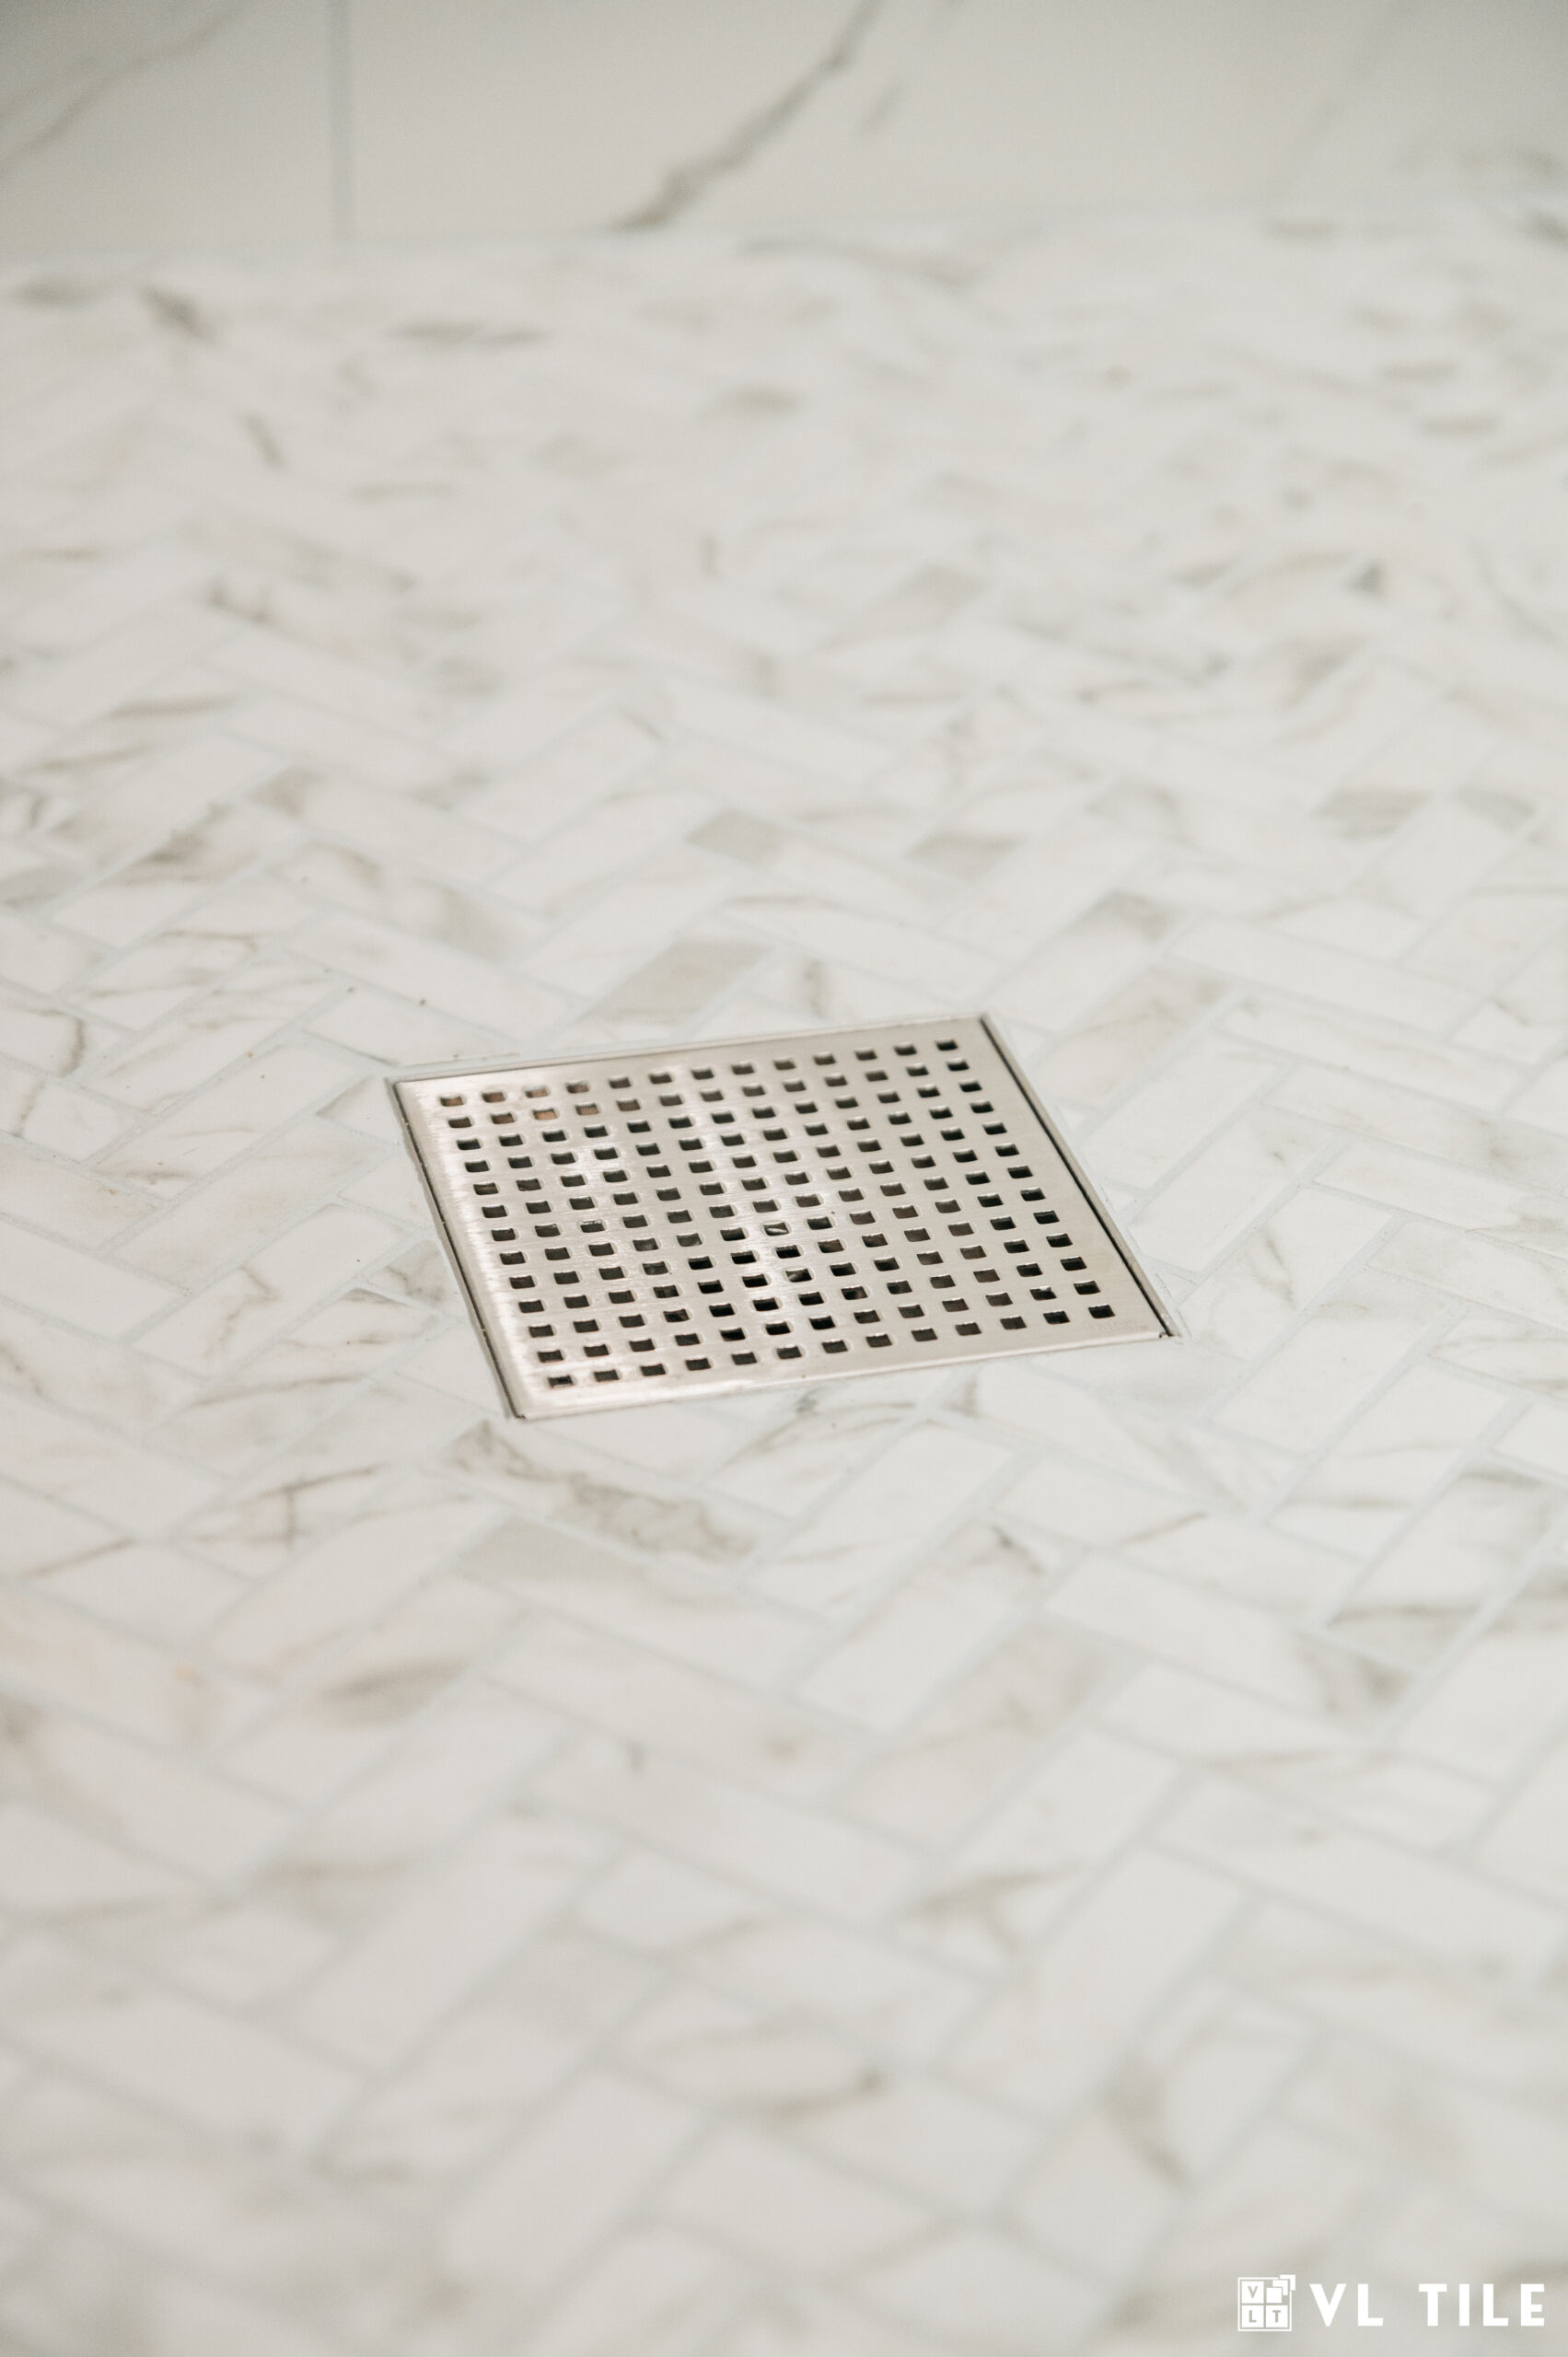
- Install proper waterproofing membrane in shower areas.
- Cement board underlayment for tile is essential.
6. Tile Installation
- Flooring: Lay out tile with a dry-fit to plan veining and seams.
- Walls/Shower: Apply thinset and carefully position each tile piece.
- Grouting: Use non-staining grout and water resistance.
- Sealing: Apply high-quality sealer to all marble surfaces.
7. Vanities, Fixtures & Glass
- Install vanity, sinks, faucets, and mirrors.
- Add glass shower enclosure (frameless is popular).
- Hook up lighting, outlets, and fans.
8. Final Touches
- Paint or wallpaper walls.
- Install hardware (towel bars, toilet paper holders, etc.).
- Add decor: rugs, plants, artwork.
9. Inspection & Cleanup
- Inspect all areas for completion. Make sure the master bathroom remodel meets your expectations.
- Deep clean all tile.
- Enjoy your new master bathroom!
Here you can read what our clients say about us testimonials.